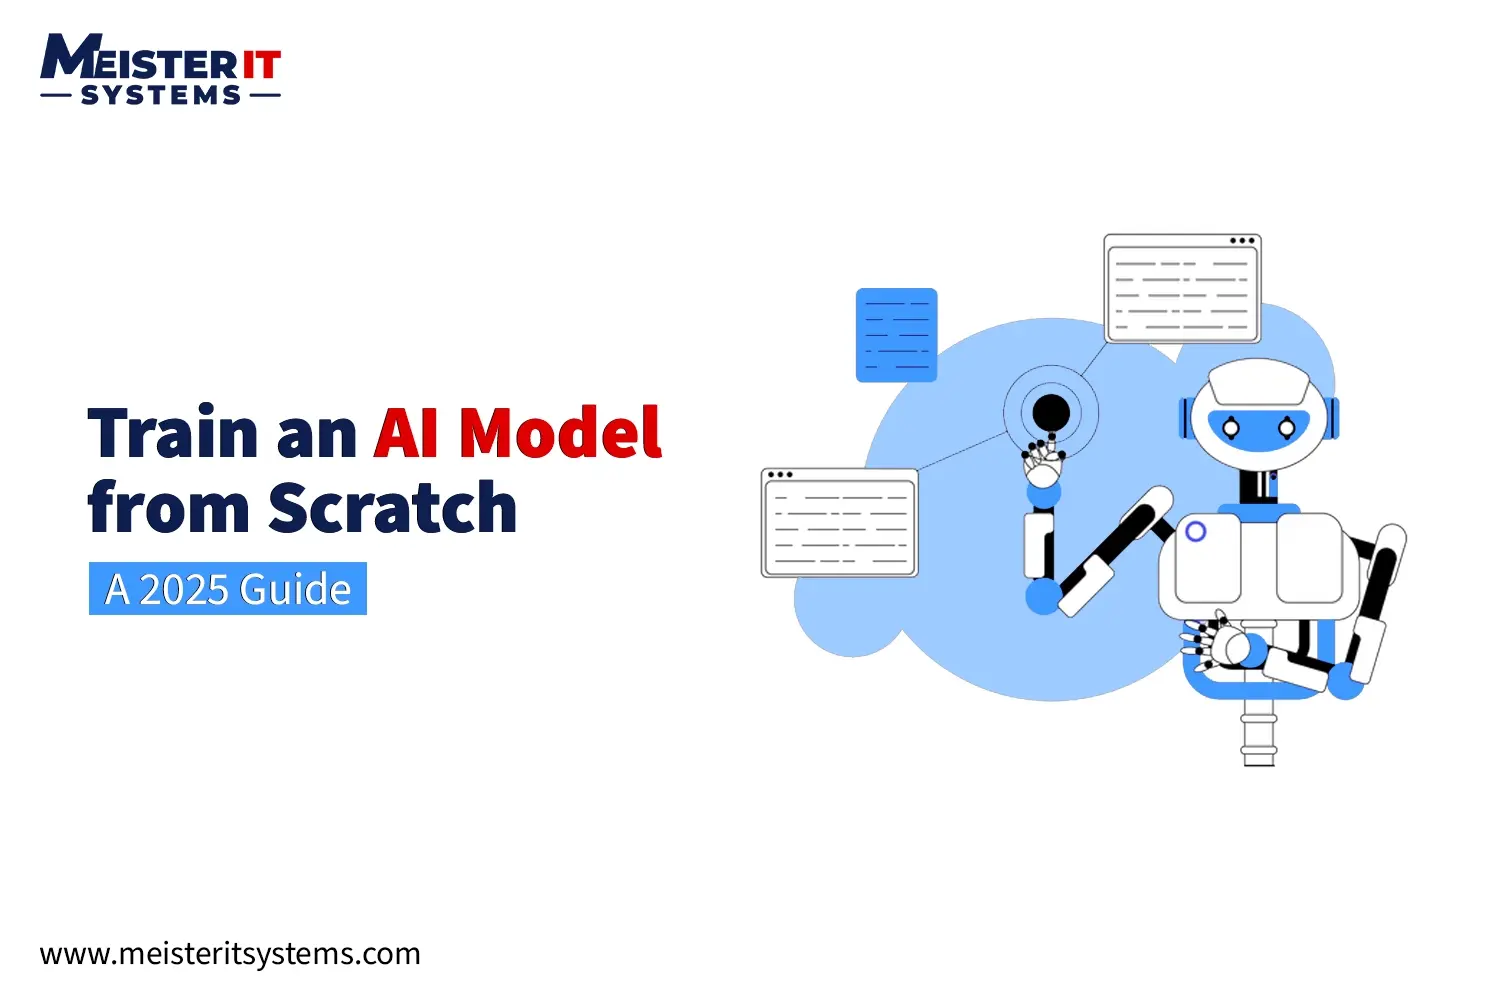
Training an AI model from scratch is one of the best ways to understand how machine learning actually works. Instead of relying on pre-trained weights, you define the problem, prepare the data, and let the model learn everything from the ground up.
This step-by-step guide walks you through the full process of training an AI model from scratch, with Python examples in both TensorFlow and PyTorch. Whether you’re a beginner or a CTO exploring custom AI solutions, this roadmap will help you understand every step.
Why Train an AI Model from Scratch?
Most AI projects today use pre-trained models. That’s efficient, but it doesn’t always meet every need. Training a custom AI model from scratch makes sense when:
- Your data is unique or domain-specific
- Pre-trained models don’t exist for your task
- You want full control over architecture and training
- You need transparency and explainability
While training from scratch is resource-intensive, it gives you the deepest understanding and flexibility.
Prerequisites
Before you start, make sure you have:
- Python 3.8+ installed
- Libraries: numpy, pandas, matplotlib, scikit-learn, tensorflow or torch
- Basic knowledge of ML concepts like training/testing and overfitting
- A GPU (optional, but highly recommended for deep learning)
Free option: Google Colab provides GPU access without any cost.
How to Train Your AI Model in Just 8 Steps?
Step 1: Define the AI Problem
AI models solve specific problems, not AI in general. Ask yourself:
- Are you predicting a number? (Regression)
- Are you classifying categories? (Classification)
- Do you need to process text? (NLP)
- Do you want to analyze images? (Computer vision)
Step 2: Collect and Prepare Data
Your model is only as good as your data. Data preparation usually takes 70–80% of the project time.
Example: housing price prediction.
import pandas as pd
									import pandas as pd

									# Load dataset
									data = pd.read_csv("house_prices.csv")

									# Inspect first few rows
									print(data.head())

									# Handle missing values
									data = data.fillna(0)

									# Split into features and target
									X = data.drop("price", axis=1)
									y = data["price"]
Common preprocessing tasks:
- Remove duplicates
- Normalize numeric data (e.g., min-max scaling, standardization)
- Encode categorical features (one-hot encoding, label encoding)
- Data augmentation for images (rotation, flipping, cropping)
- Tokenization for text (word embeddings, subword units)
- Split into training, validation, and test sets
Step 3: Choose the Model
Classical ML (scikit-learn)
- Linear regression, decision trees, random forests → great for structured/tabular data
Deep Learning (TensorFlow/PyTorch)
- CNNs for images
- RNNs/Transformers for text
- Custom architectures for research or niche use cases
Step 4: Build a Model
TensorFlow Example:
import tensorflow as tf
									import tensorflow as tf
									from tensorflow import keras
									from tensorflow.keras import layers

									# Define model
									model = keras.Sequential([
										layers.Dense(64, activation="relu"),
										layers.Dense(64, activation="relu"),
										layers.Dense(1)  # regression output
									])

									model.compile(optimizer="adam", loss="mse", metrics=["mae"])
PyTorch Example
import torch
									import torch
									import torch.nn as nn
									from torch.utils.data import TensorDataset, DataLoader

									X_train_tensor = torch.tensor(X_train, dtype=torch.float32)
									y_train_tensor = torch.tensor(y_train.values, dtype=torch.float32).view(-1,1)
									train_dataset = TensorDataset(X_train_tensor, y_train_tensor)
									train_loader = DataLoader(train_dataset, batch_size=32, shuffle=True)

									class RegressionModel(nn.Module):
										def __init__(self):
											super().__init__()
											self.fc1 = nn.Linear(X_train.shape[1], 64)
											self.fc2 = nn.Linear(64, 64)
											self.out = nn.Linear(64,1)
											self.relu = nn.ReLU()

										def forward(self, x):
											x = self.relu(self.fc1(x))
											x = self.relu(self.fc2(x))
											return self.out(x)

									model = RegressionModel()
									criterion = nn.MSELoss()
									optimizer = torch.optim.Adam(model.parameters(), lr=0.001)

									# Training loop
									for epoch in range(50):
										for batch_X, batch_y in train_loader:
											optimizer.zero_grad()
											predictions = model(batch_X)
											loss = criterion(predictions, batch_y)
											loss.backward()
											optimizer.step()
Step 5: Train the Model
Command
									history = model.fit(
									X_train, y_train,
									validation_data=(X_test, y_test),
									epochs=50,
									batch_size=32
								)
During training, the optimizer adjusts weights to minimize loss. You’ll see training and validation performance evolve per epoch.
Step 6: Evaluate Performance
Command
									loss, mae = model.evaluate(X_test, y_test)
									print(f"Mean Absolute Error: {mae}")
Don’t just look at accuracy. Choose metrics that match your problem:
- Classification - precision, recall, F1-score
- Regression - MSE, MAE, R²
- NLP/vision - BLEU, IoU, Top-k accuracy
Step 7: Fine-Tune the Model
Improvement comes from tuning hyperparameters:
- Learning rate
- Batch size
- Number of layers
- Regularization (dropout, weight decay)
Command
									callback = keras.callbacks.EarlyStopping(monitor='val_loss', patience=5)
										history = model.fit(
											X_train, y_train,
											epochs=100,
											validation_split=0.2,
											callbacks=[callback]
										)
Step 8: Deploy the Model
A trained model isn’t useful until deployed. Wrap it as an API and serve predictions.
Command
									from flask import Flask, request, jsonify
									import joblib

									app = Flask(__name__)
									model = joblib.load("model.pkl")

									@app.route("/predict", methods=["POST"])
									def predict():
									data = request.json
									prediction = model.predict([data["features"]])
									return jsonify({"prediction": prediction.tolist()})
For production:
- Use Docker for containerization
- CI/CD pipelines for automated updates
- Monitoring tools for drift detection
Common Pitfalls When Training From Scratch
Training an AI model from scratch can be rewarding, but it also comes with challenges. Many projects fail not because the algorithms are wrong, but because of mistakes in data handling, evaluation, or deployment planning. The good news is that most of these pitfalls are avoidable if you know what to look out for.
Here’s a quick comparison of the most common pitfalls and the best practices to overcome them:
| Pitfall | Best Practice |
|---|---|
| Too little data | Collect enough diverse data or use augmentation to improve generalization |
| Overfitting | Apply regularization, early stopping, and cross-validation to control overfitting |
| Imbalanced datasets | Balance datasets with resampling, class weights, or anomaly detection methods |
| Poor preprocessing | Clean, normalize, and encode data properly before training |
| Wrong metrics | Choose evaluation metrics that match your business or research goal |
| No proper validation or test split | Always split data into training, validation, and test sets |
| Forgetting deployment needs | Design models with deployment, scalability, and monitoring in mind from the start |
By keeping these pitfalls in mind and following the best practices, you’ll save time, avoid frustration, and build AI models that perform well not just in training, but also in the real world.
Conclusion
Training an AI model from scratch teaches you how data, architecture, and optimization work together. While resource-intensive, it gives full control, transparency, and flexibility.
If your business needs AI models tailored to unique data and specific goals, MeisterIT Systems can help. We design, train, and deploy production-ready AI for your domain.
Explore custom AI solutions with MeisterIT Systems today.
FAQ: Your questions answered
Q1: Do I need a GPU to train an AI model?
A1: Not always. Small models run fine on a CPU. For deep learning, a GPU makes training much faster.
Q2: How much data is enough?
A2: It depends on the task. Simple problems may need only hundreds of samples. Image or text models often need thousands or more.
Q3: What’s the difference between training from scratch and fine-tuning?
A3: From scratch means the model learns everything from your data. Fine-tuning starts with a pre-trained model and adapts it to your task.
Q4: How can I tell if my model is overfitting?
A4: If it performs well on training data but poorly on test data, it’s overfitting.
Q5: Can I use a scratch-trained model in production?
A5: Yes. You can deploy it with tools like Flask, FastAPI, or Docker, just like any other model.