This hack can break your website in minutes!
Introduction
Did you know?
WordPress has a dominating lead when it comes to website development. However, this most popular CMS can become a nightmare for various businesses, and all that because of the XML-RPC.php.
As per the W3 Techs’ 2021 data, “WordPress powers over 42% of websites online today.” For websites running a CMS, that share is over 65%.
Table Of Content
What is xmlrpc.php?
The XML-RPC WordPress was initially designed to facilitate communication between different machines, perhaps systems running on different operating systems or codes written in different languages, utilizing HTTP as the transport mechanism and XML as the encoding mechanism.
It has played a crucial role in connecting WordPress with external applications, as it allows developers to build programs that can interact with other programs without the team having to learn about underlying networking, protocols, or developing complex APIs.
In this guide, we explore xmlrpc.php, its potential security risks, and how to disable it to enhance the security of your WordPress site.
Security Risks and Reasons to Disable xmlrpc.php
Disabling xmlrpc.php is recommended due to the security vulnerabilities it introduces. Two specific vulnerabilities are
- 1. DDoS Attacks via XML-RPC Pingbacks: Exploiting xmlrpc.php, hackers could execute Distributed Denial of Service (DDoS) attacks by overwhelming the site with many pingbacks.
- 2. Brute Force Attacks via XML-RPC: xmlrpc.php sends authentication information with every request, making it susceptible to brute force attacks where hackers attempt to gain access by trying different username and password pairs.
Given that xmlrpc.php is no longer necessary for communication outside WordPress, disabling it enhances site security.
How To Identify xmlrpc.php on Your Site?
Before you go through the trouble of disabling XML-RPC, you must find out do you even have xmlrpc.php file enabled on your website, as the file itself is present on your website by default. You need the XML-RPC Validator to identify whether you have the file on your website.

Here is a step-by-step process to identify the xmlrpc.php file via XML-RPC Validator:
- Enter your website’s URL in the Address text box provided on the XML-RPC Validator page.
- Click the “Check” button to run the validation.
- If XML-RPC is enabled on your site, you will see the below message:

- And if XML-RPC is disabled on your site, you will get to see an error message.

- If XML-RPC is enabled on your site, you will see the below message:
Given that xmlrpc.php is no longer necessary for communication outside WordPress, disabling it enhances site security.
How To Disable XML-RPC in WordPress?
Simply deleting the XML-RPC file is not sufficient. Taking this action will only break your website. You need to take proper measures to disable the xmlrpc.php file. You can do it via different methods. So here are four recommended methods (starting from the easiest) to disable xmlrpc.php:
Method 1: Disable XML-RPC Using a Plugin
There are various plugins available in WordPress to disable XML-RPC files. However, in this blog, we will talk about the two most popular plugins.
Installing plugins like “Disable XML-RPC” or “Disable XML-RPC Pingback” provides a straightforward solution. These plugins offer easy activation and immediate xmlrpc.php deactivation. Here is a step-by-step procedure to install the above-mentioned plugins:
- Step 1: Log in to your WordPress admin dashboard.
- Step 2: Click on Plugins, and then Add New.
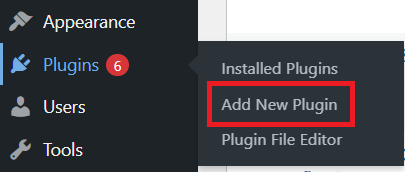
- Step 3: Search for the plugin ‘Disable XML-RPC’ or ‘Remove & Disable XML-RPC Pingback’ in the search box, and install the one as per your requirements.

- Step 4: Once the plugin is installed, click on Activate to activate the plugin on your site. Once done, it will disable the xml-rpc.php file on your website.

Using plugins might be the simplest way to fix issues on your website, but there is a downside to it. These plugins consume a lot of your server resources, making manual ways preferable for developers to disable the file.
Method 2: Block xmlrpc.php using the .htaccess file (manually)
If you don’t want to add another plugin to your website then the best way to disable XML-RPC in your website is by adding a few lines of code to your .htaccess file. You can use an FTP client, file manager, or cPanel on your web hosting account to edit the .htaccess file. Remember, you’ll be making changes to your site files, so be sure to take a complete website backup before initiating the process.

If in case, you want to deny requests from any specific IP, add this code:

This process will stop all incoming xmlrpc.php requests before passing them to WordPress.
And if you use the All in One SEO plugin on your website, you can use the plugin’s built-in editor tool to add the code snippet.

Also, if your web hosting provider uses the Nginx web server to host your site, you won’t have access to the .htaccess file. You can disable the xmlrpc.php file by editing the Nginx file and inserting the following code in the file.

Save the settings and xmlrpc.php will get disabled.
Method 3: Disable XML-RPC With a Code Snippet
This method requires WPCode’s built-in code snippets to disable XML-RPC, and for it, you must have installed the free WPCode plugin on your website. If you don’t have this plugin on your website, install it first and then activate it. Once the activation is done, head over to Code Snippets > Add Snippet.
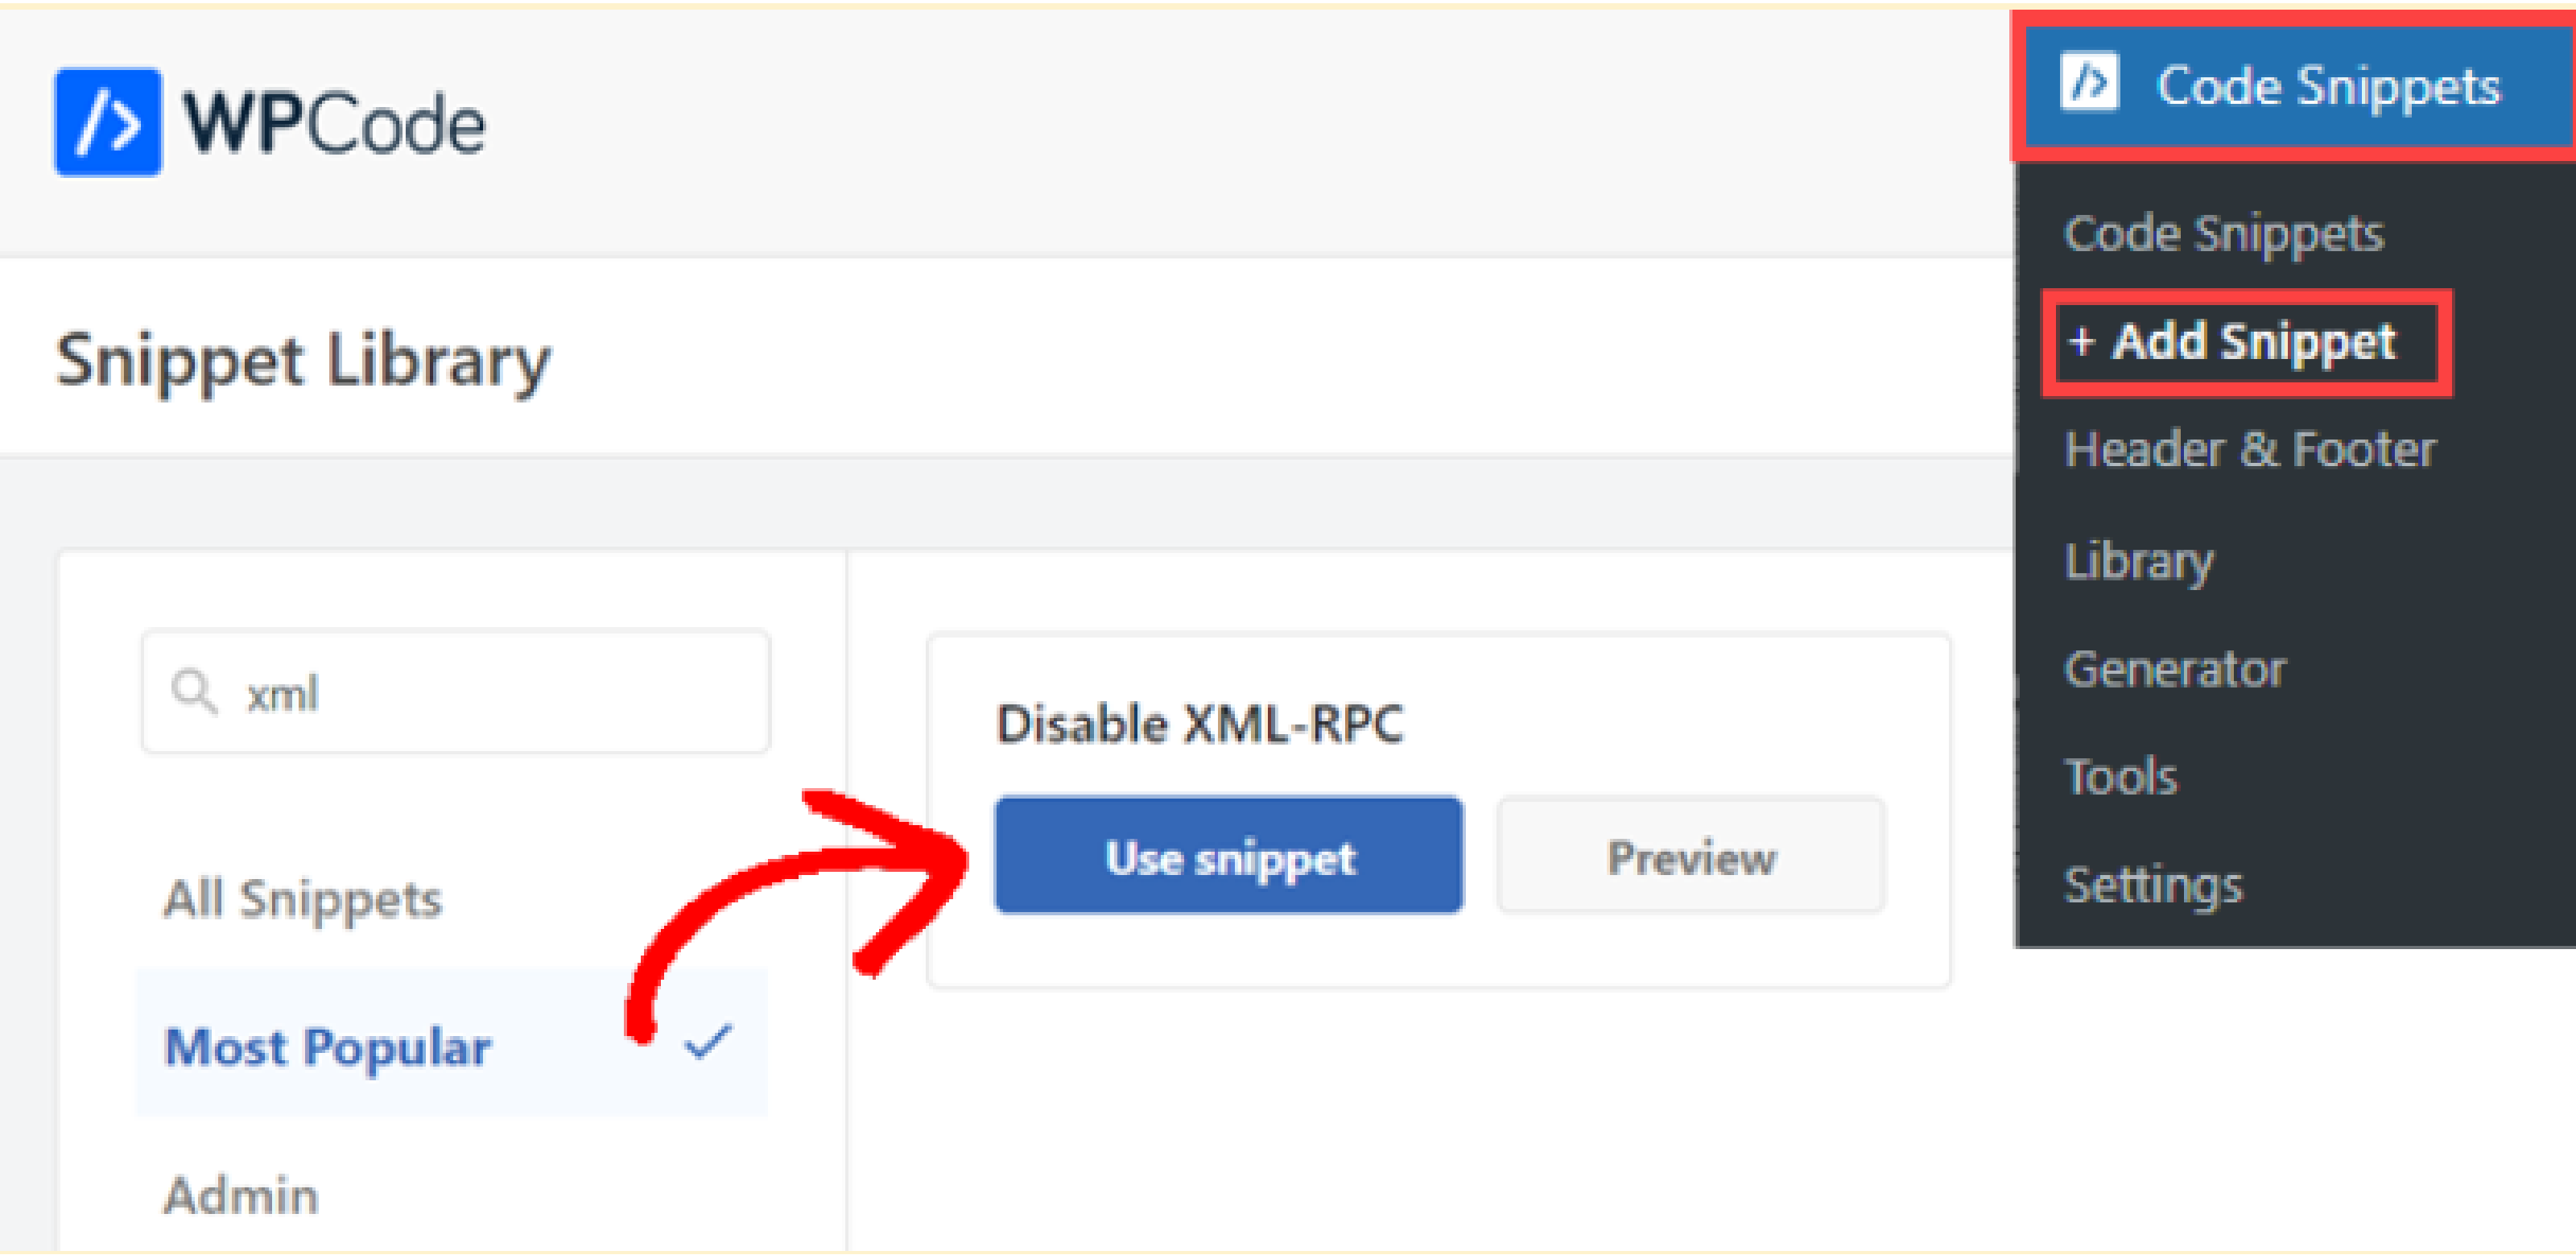
After that click on the Use Snippet button.
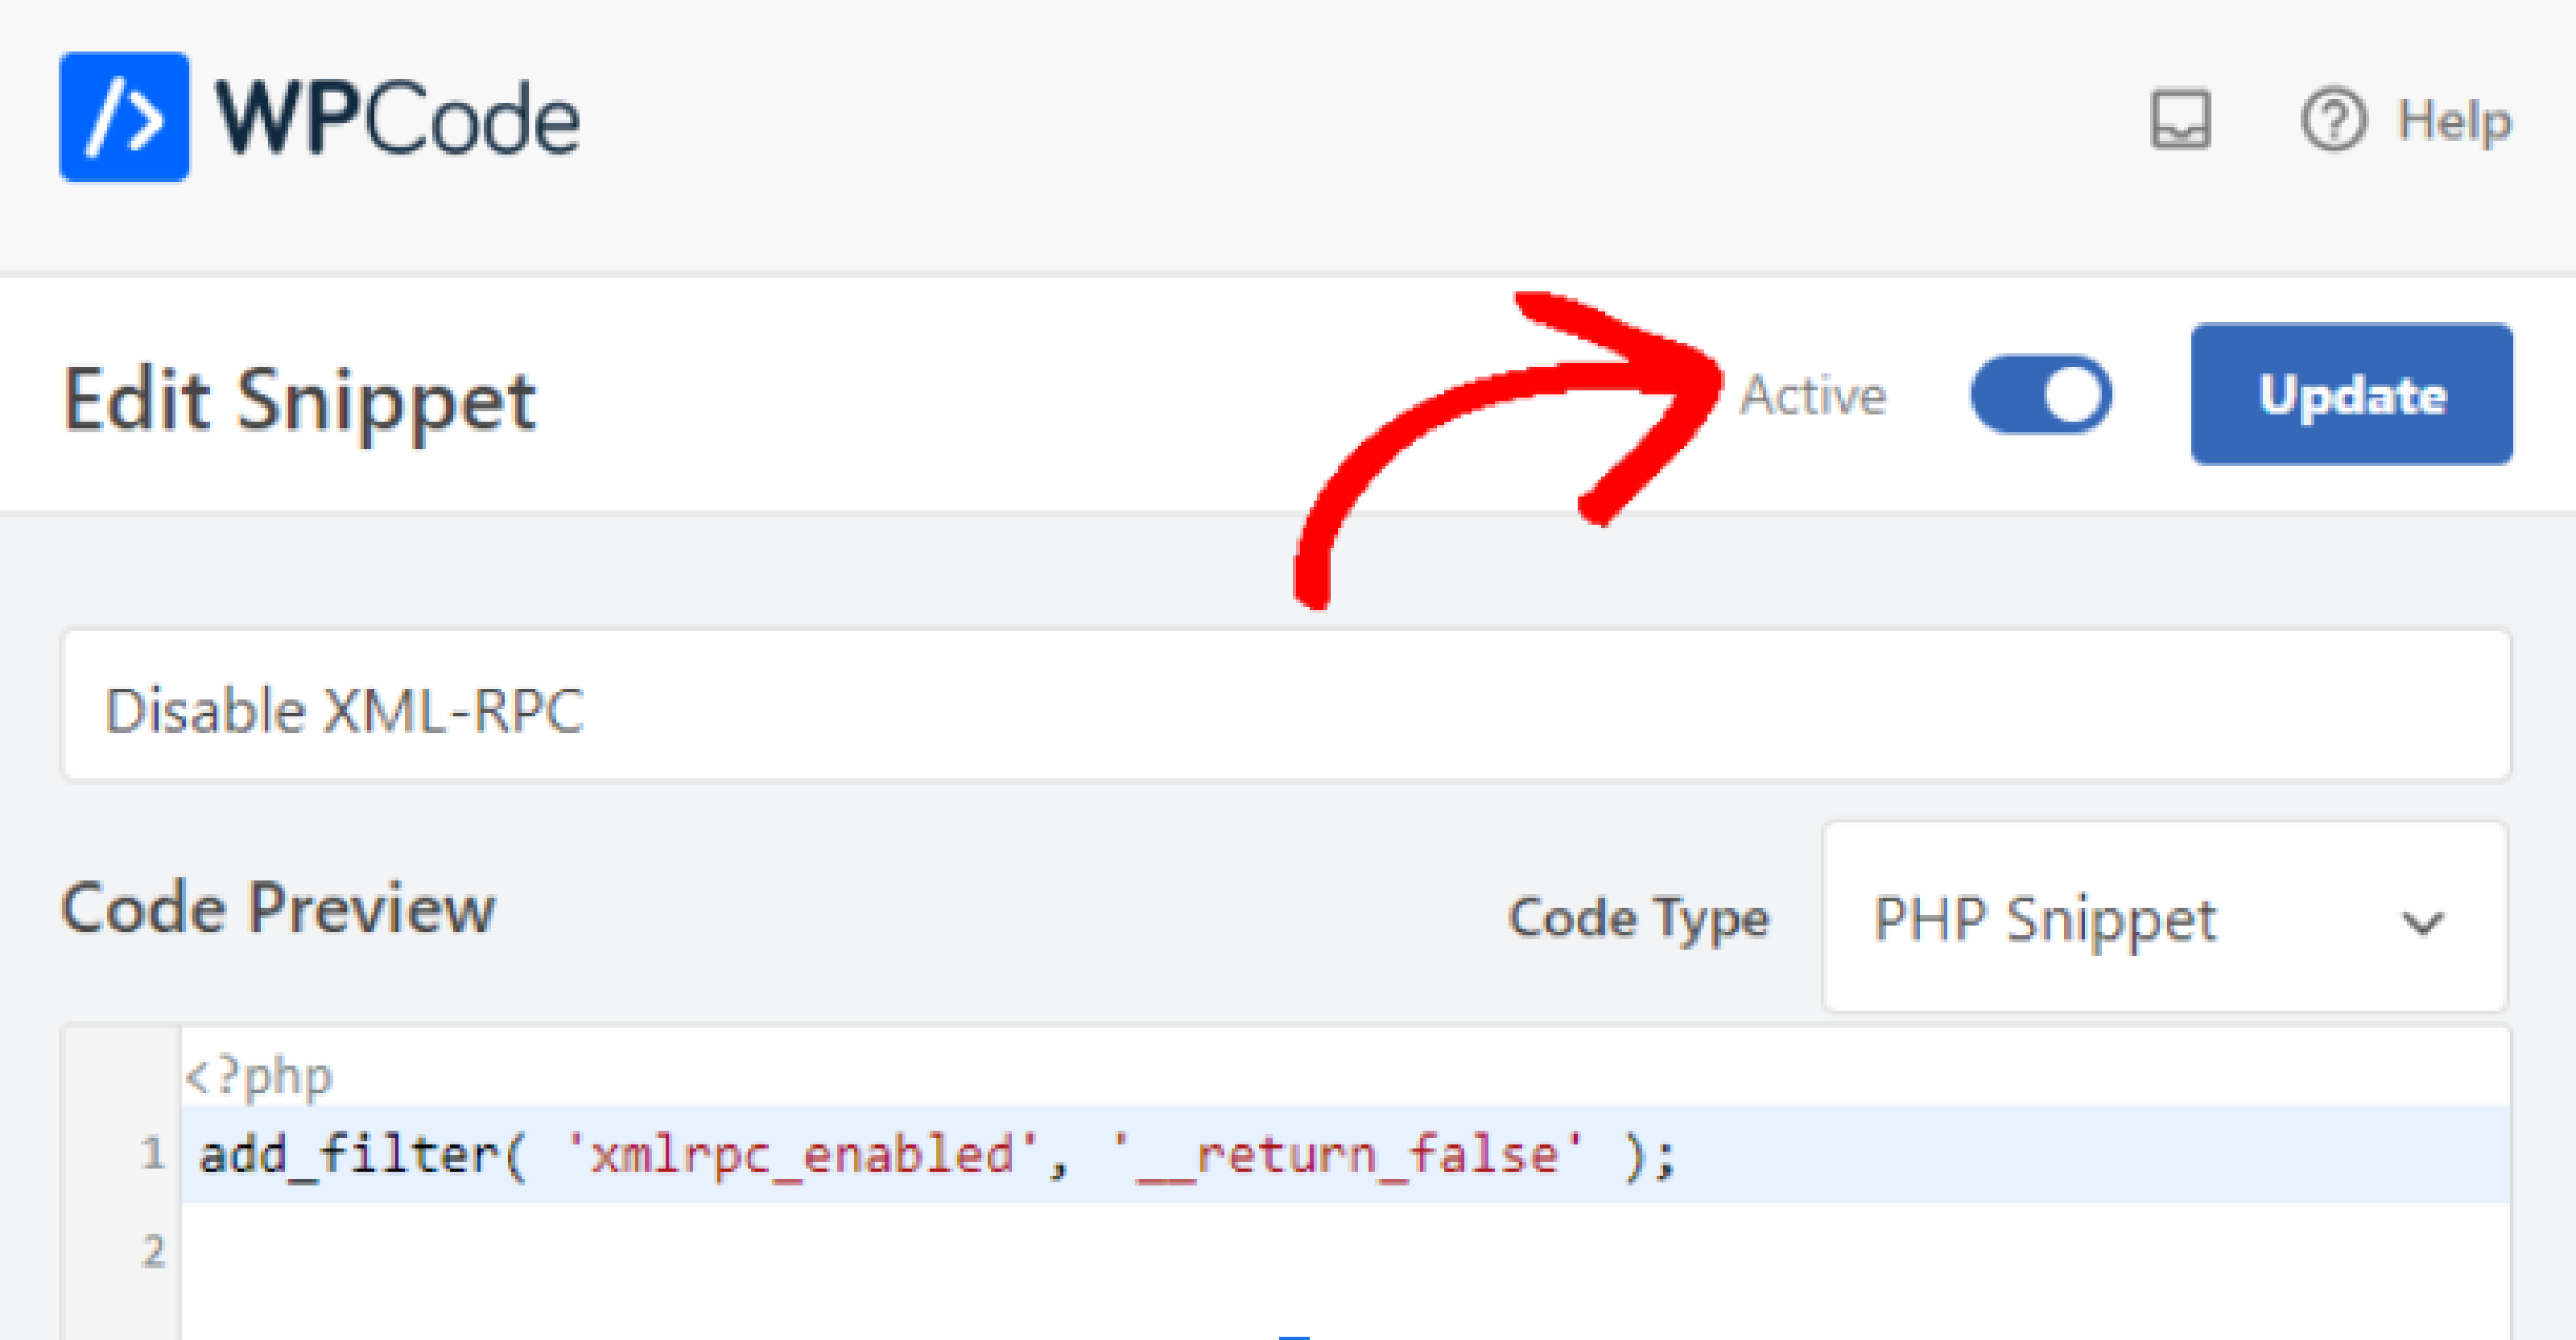
Next, you need to switch the Active Toggle to ON mode, and then click on the Update button to enable snippet and disable XML-RPC API on your website.
Method 4: Disable XML-RPC via a custom code-based filter
Lastly, a custom code-based filter can disable XML-RPC in WordPress. In this method, you need to create your plugin – called a site-specific plugin – and then add this line of code to it:
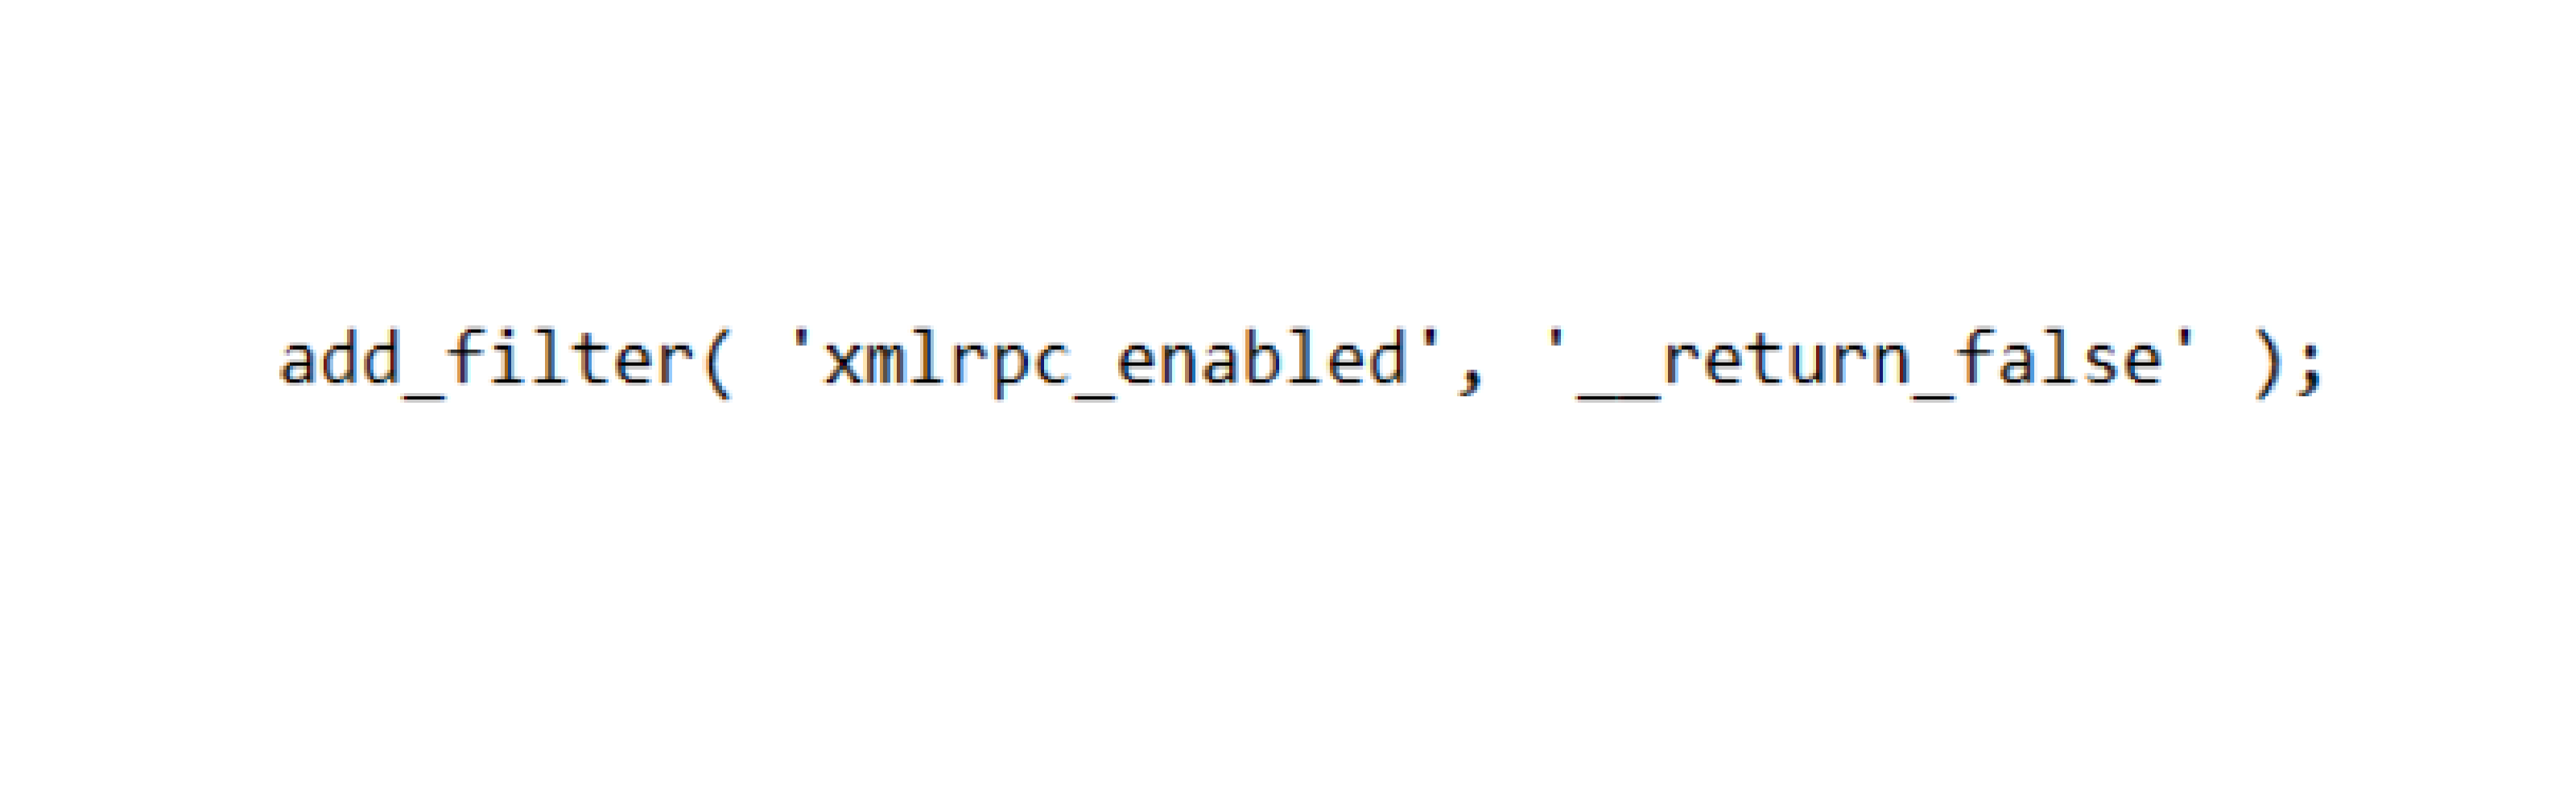
If you don’t know how to create a plugin, you can contact the WordPress Development Agency In UK to write the code for you. On the other hand, you can also add the line of code mentioned above to your functions.php file. However, writing code is preferable because whenever you update or change your theme, any edits you make to the functions.php file will be lost.
Steps To Test The WordPress XML-RPC Is Disabled
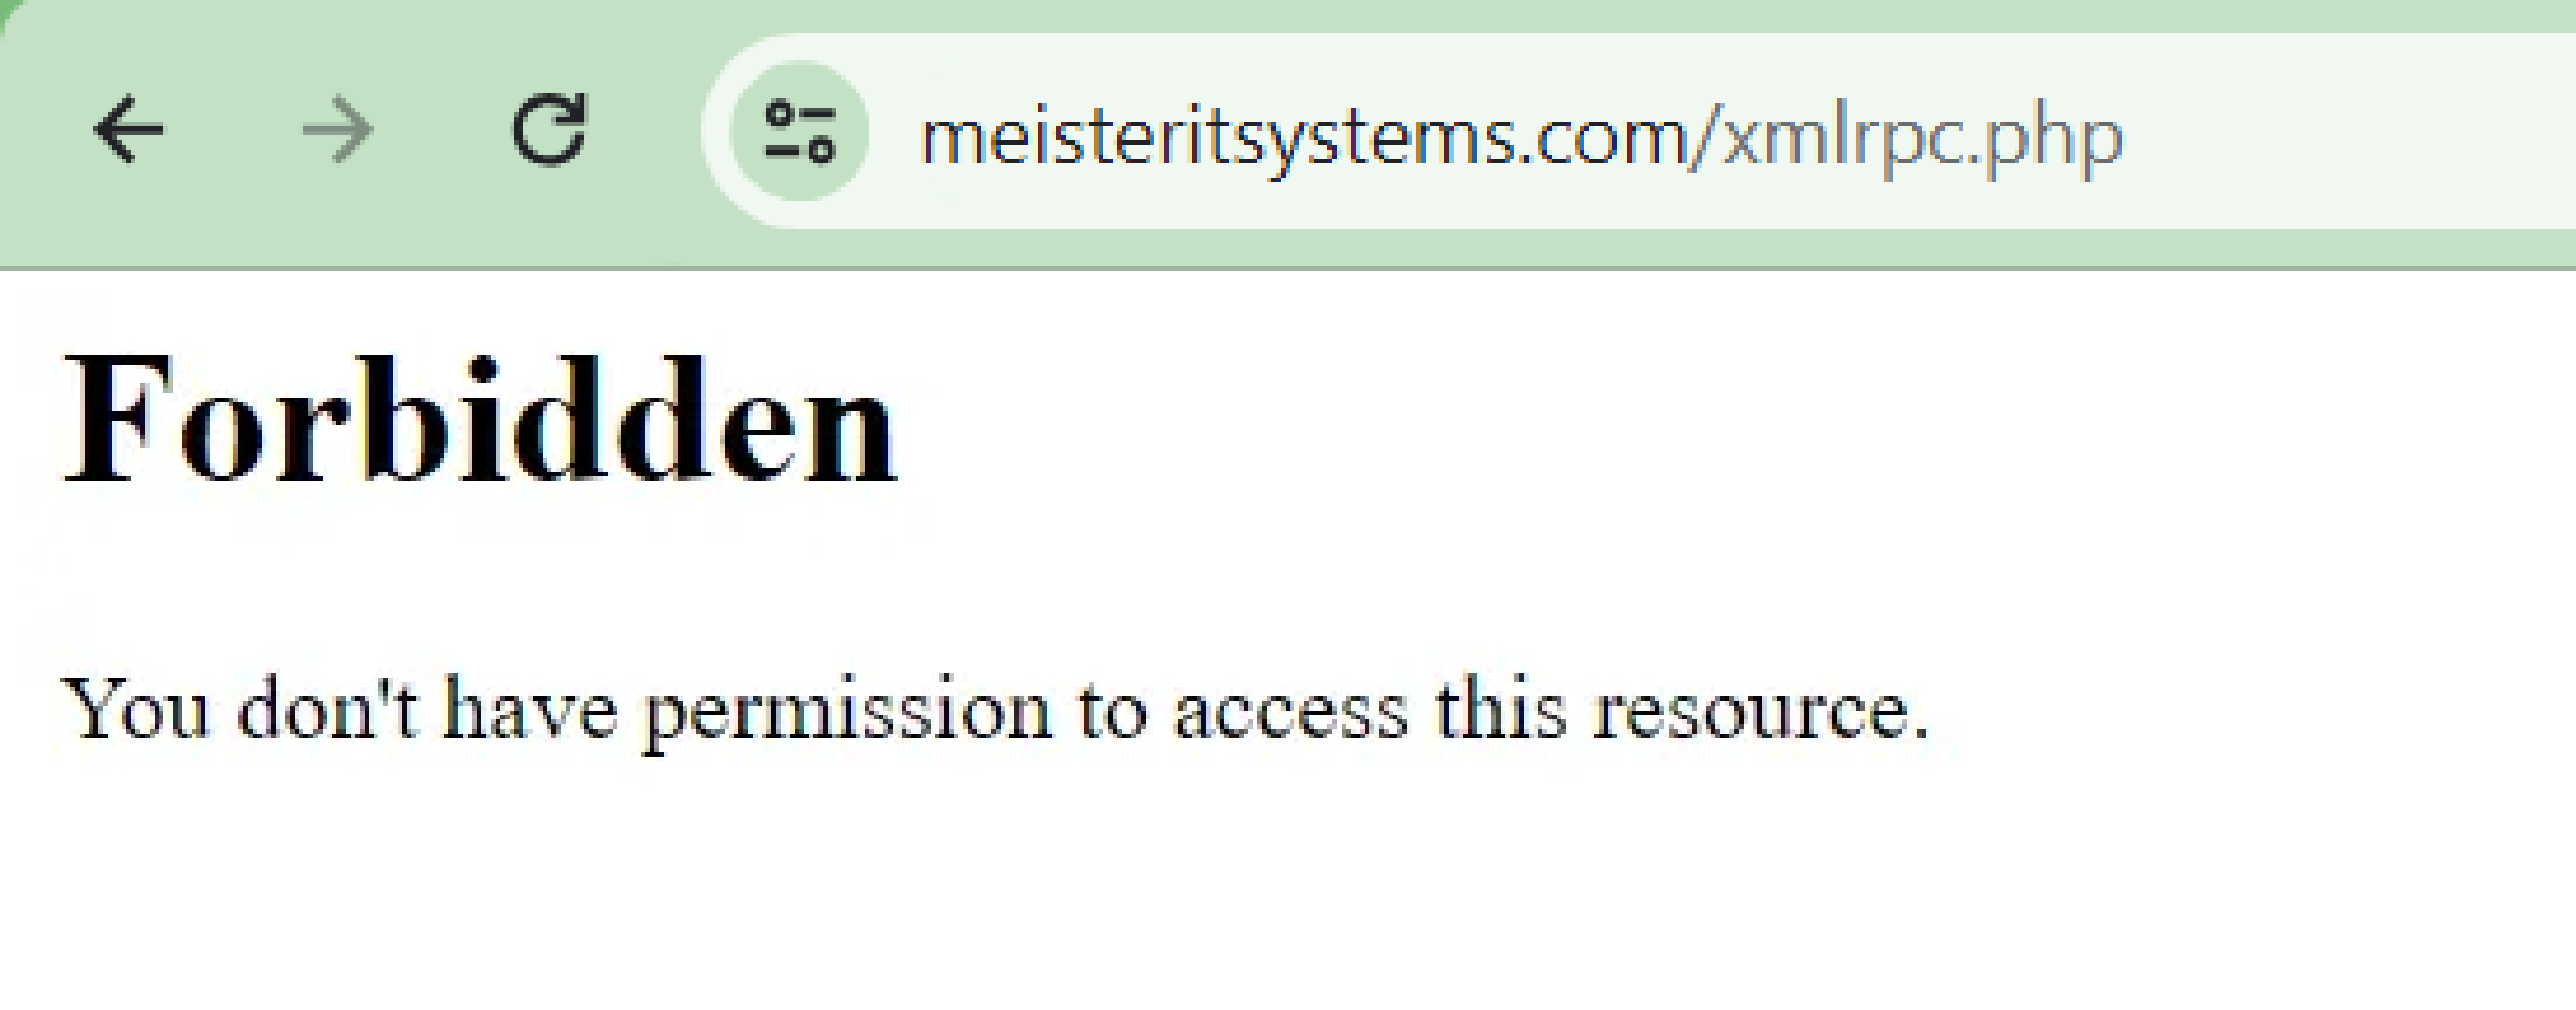
No matter which method you choose to disable the XML-RPC API, make sure to test when it’s disabled or not after making the changes. You can check it by visiting the URL (https://yourwebsite.com/xmlrpc.php) in your browser. If the XLMRPC file is disabled, you will get a Forbidden error message on your screen.
When You Should Enable xmlrpc.php?
There are limited scenarios where enabling xmlrpc.php may be necessary:
- 1. Not Running the REST API: In situations where the REST API is not in use, communication between WordPress and external systems is required.
- 2. Inability to Update WordPress: If unable to update WordPress to version 4.4 or higher, xmlrpc.php might be necessary due to restrictions or incompatibility.
- 3. Working with Legacy Applications: When dealing with an external application that can only access XML-RPC, which might be a temporary solution until the application is updated or replaced.
Except for these three scenarios, it’s recommended to disable the XML-RPC to enhance your website’s security.
Conclusion
While XML-RPC has been a vital part of WordPress history, however, its security flaws and obsolescence make it advisable to disable xmlrpc.php for sites aiming for optimal security and compatibility with modern technology.


![[SOLVED] – Embedding RTSP onto a Webpage](https://meisteritsystems.com/wp-content/uploads/2024/01/rtsp-blog-1-01-1-1.png)